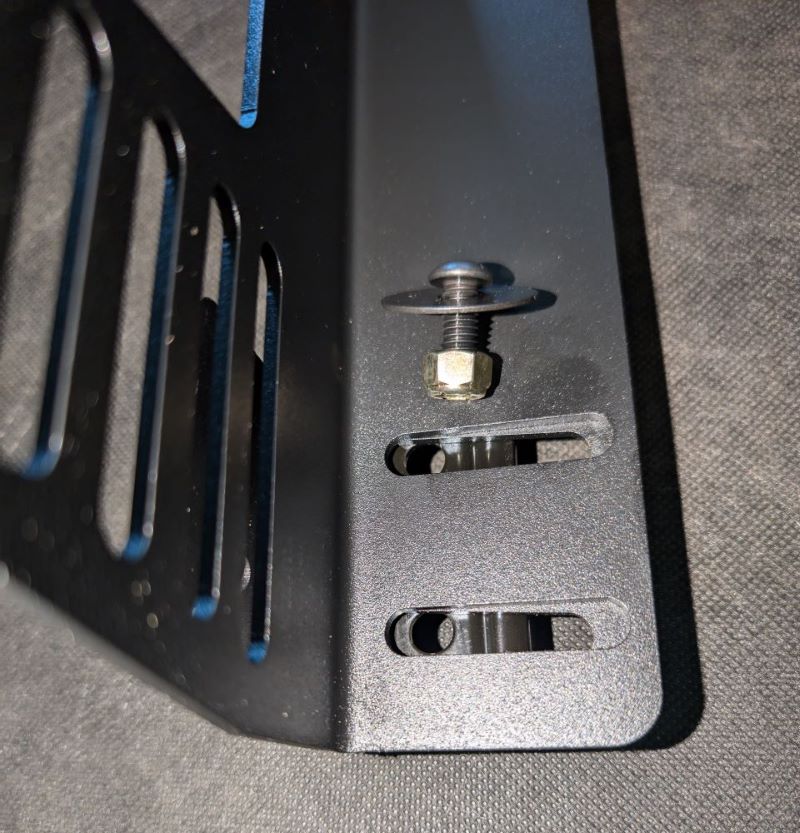
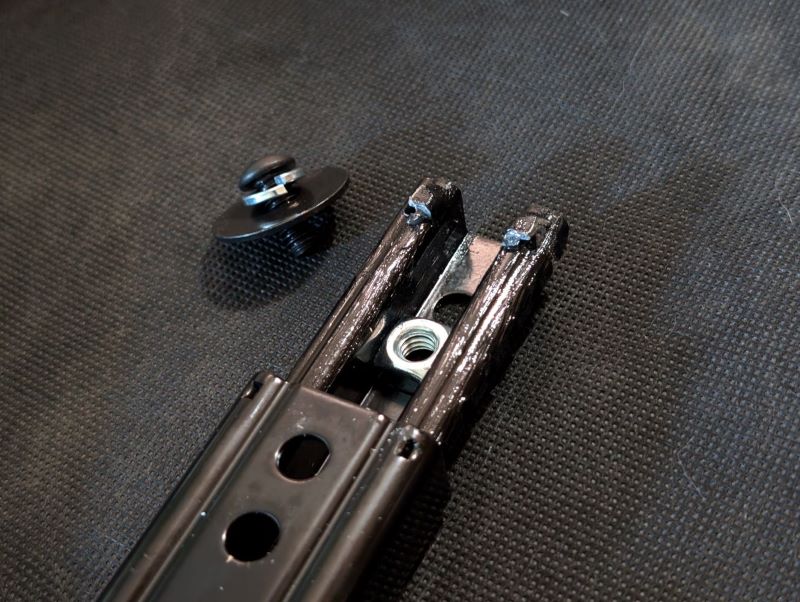
Attach the sliders to the brackets using the 5/16"
button head cap screws, lock washer and flat washer coming up from the
underside of the bracket. Use the square nuts inside the sliders to
fasten. There are slots that allow the sliders to be 16 - 16.5" on
center in the bracket. We have chosen not to pre-drill holes for other
sliders because often customers find the best position for their seat is
not centered on the bracket, but offset. You can add your own
holes where the sliders would best suit your application.
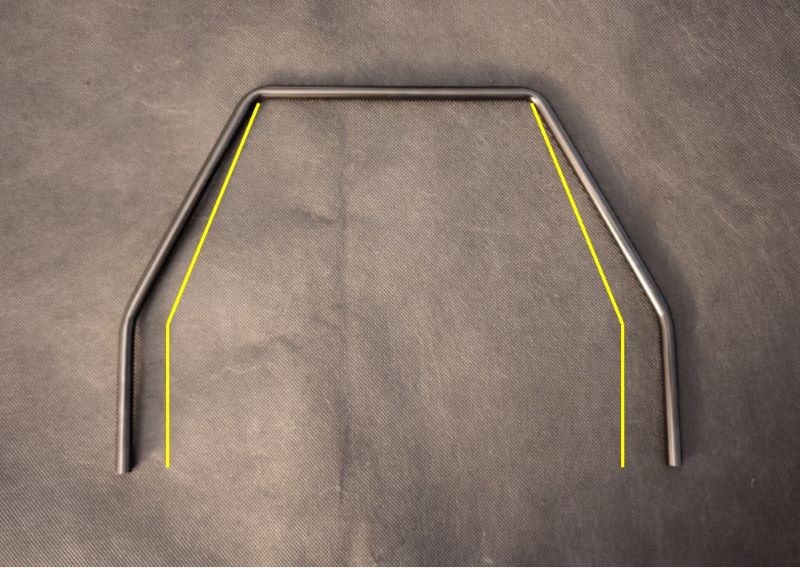
The handle comes bent for the 16" on center slider
spacing but can easily be bent in a vise to accommodate other widths. Be
careful to keep the portions of the handle that clip into the sliders
parallel to each other and at a width that keeps spring pressure holding
the handle in position.
Use the 5/16" button head cap screw and washer from
the top to install the side mounts and seat belt adapters or leveling
plates. Attach any belts or buckles to the adapters before installing.
Start by installing the bolts in the inside slots first but leave them
just loose enough to allow the side mounts to adjust
inward and outward. You will need to use a 1/2" wrench inside the
sliders to tighten. We've found some 1/2" wrenches that were too wide
to fit inside the sliders and others that would. We filed the edges down
on some wrenches when we needed to. Install the bolts nearer the outside
of the sliders and determine the final positioning with the seat
installed. Tighten down all hardware after positioning.